Seasonal Ombre Nail Designs For Every Mood
In the world of nail art, ombre designs continue to reign supreme due to their versatility and chic appeal. As the seasons change, so do moods and styles. Whether feeling bright and bold in the summer or cozy and calm in the winter, there’s an ombre nail design perfect for every season. This article explores the best seasonal ombre nail designs to match every mood, ensuring fabulous nails all year long.
Spring Ombre Nail Designs
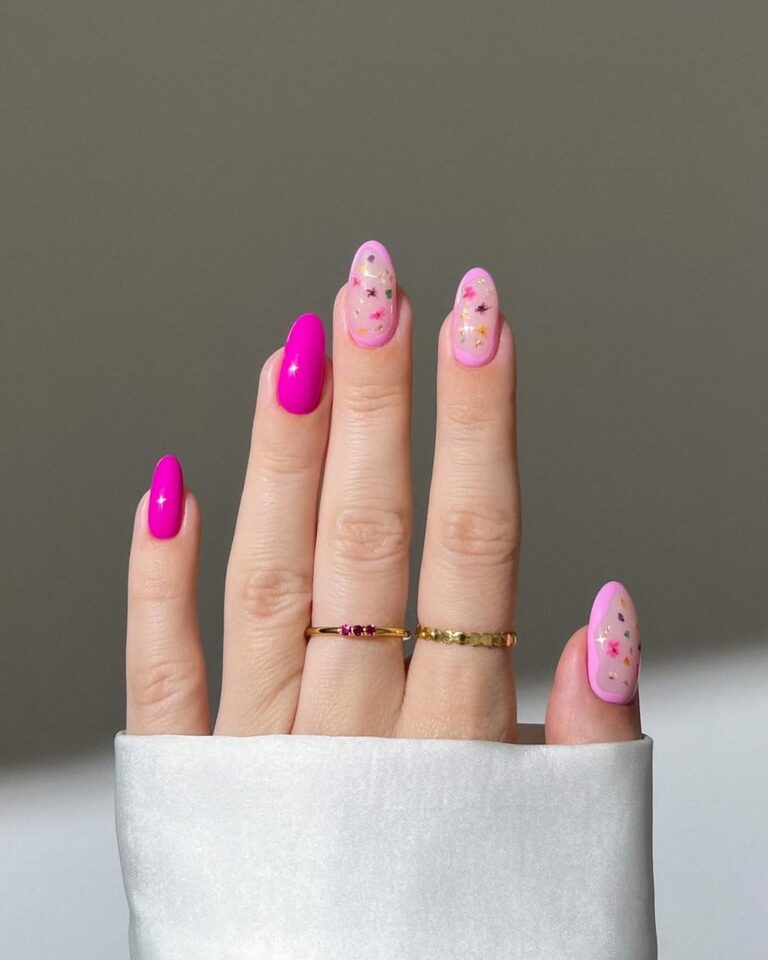
Spring ombre nail designs capture the refreshing essence of new beginnings, vibrant blooms, and the soft hues of the season. This time of year is synonymous with renewal, making it the perfect opportunity to embrace light, pastel gradients and floral accents that celebrate the freshness of spring.
Pastel colors symbolizing the gentle awakening of nature are ideal for spring ombre nails. Light pinks, baby blues, mint greens, and soft yellows blend beautifully to create a subtle yet stunning gradient effect. Imagine a delicate ombre transitioning from a soft, buttery yellow to a gentle pastel pink, reminiscent of a serene spring sunset. Another exquisite combination includes mint green fading into a light lavender, capturing the essence of blooming fields.
Floral inspirations further enhance spring ombre nail designs. Tiny, intricate flower patterns can be added to the ombre base, replicating the look of a spring garden in full bloom. For example, start with a dusty rose ombre base and embellish it with delicate white daisies or cherry blossom motifs. This not only adds a touch of femininity but also a playful nod to the season’s blossoming charm.
Combining pastel hues and floral elements brings out the true spirit of spring. These designs are perfect for adding a fresh and fashionable touch to any look, celebrating the season’s beauty and the joyous renewal it represents.
 Trendy Ombre Nail Art Techniques
Essential tools and products for stunning ombre nails include high-quality nail polish in various colors, a good base and topcoat, and fine makeup sponges for blending. A dual-ended brush can help in perfecting the gradients, and nail polish remover with a fine-tip corrector pen is essential for clean edges. Common mistakes to avoid involve using too much polish on the sponge, which leads to a blotchy effect, and neglecting to let each layer dry, causing smudges.
Ensure to use a thin layer of polish on the sponge and wait for each coat to dry thoroughly. For a salon-quality finish, seal the design with a glossy topcoat, ensuring to cover the entire nail surface to prevent chipping and to add extra shine. Regularly moisturize the cuticles and nails to maintain a healthy and polished look.

Matte Ombre Nail Art Inspiration
For a chic and modern look, matte ombre nails offer versatile styling options across seasons. In spring, soft pastels like peach transitioning to mint green can evoke blooming gardens, perfectly complementing floral dresses. Summer calls for vibrant ombre combinations such as coral to sunny yellow, ideal for beach outings and bright, playful outfits. Fall’s rich hues including burgundy blended into burnt orange mirror the changing leaves, matching cozy sweaters and scarves effortlessly.
During winter, icy tones like navy fading into silver create a frosty elegance, pairing well with festive or formal attire. These seasonal color transitions not only enhance the aesthetic appeal of matte ombre nails but also provide a polished touch to any wardrobe, making them a popular choice for fashion enthusiasts.

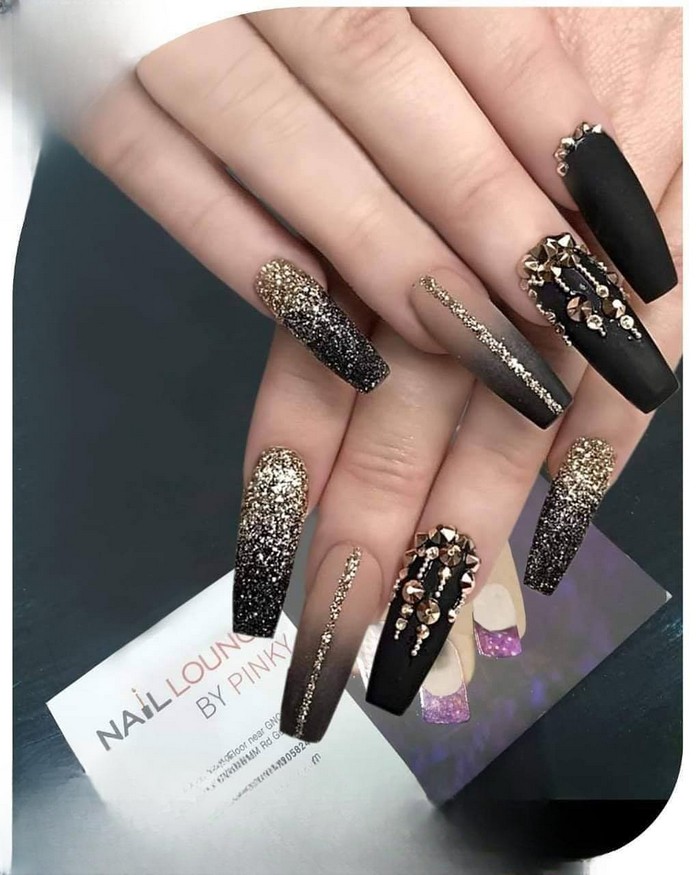
Bold Ombre Styles For Beginners
Creating bold ombre nails is an exciting way to embrace vibrant colors and showcase unique style. For beginners, this nail trend offers a fantastic opportunity to experiment with striking gradients that seamlessly blend multiple hues. The popularity of ombre nails continues to rise because of their visual appeal and versatile application to suit any occasion. Ombre designs are visually alluring, with rich colors transitioning effortlessly from one shade to another, capturing attention effortlessly.
Beginners can start with the classic fade from deep blue to light turquoise, inspired by the stunning examples seen at Legend Nails in Mokena. This specific salon’s incredible ability to create seamless gradients with vivid colors ensures nails are not just an accessory but a statement. Embrace the world of bold ombre styles and let each nail become a canvas for artistic expression, all while learning the basics of this dynamic nail art technique.

Chic Ombre Nail Art Ideas
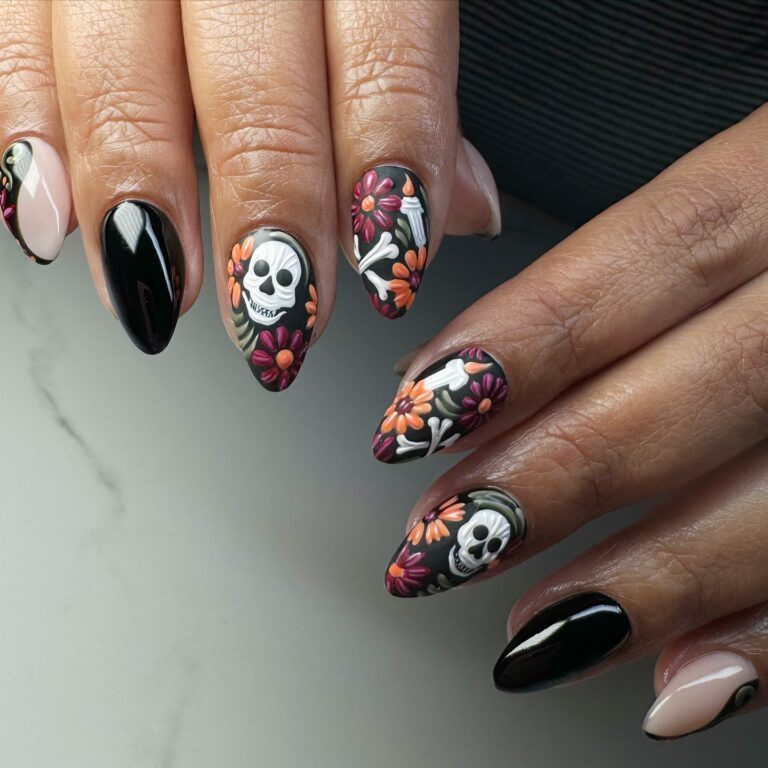
Creating chic ombre nail designs involves selecting stylish color combinations that suit various seasons and special occasions. A classic choice is transitioning from a deep plum to a soft lavender, perfect for cozy winter gatherings. This sophisticated gradient reflects winter’s majestic hues, adding an elegant touch to any outfit. For spring, consider blending pastel pink with a subtle coral, echoing the gentle blooming of flowers and offering a fresh, vibrant look suitable for garden parties or weddings.
In autumn, a warm gradient from burnt orange to a muted gold mirrors the changing leaves, making it ideal for Thanksgiving celebrations. For summer, a transition from turquoise to a sandy beige captures the essence of a beachy escape, offering a chic, laid-back vibe for vacations or weekend outings. Each combination focuses on harmonizing colors seamlessly, providing a smooth, elegant ombre effect that complements the season’s beauty and the occasion’s sophistication.

Simple Ombre Designs For Everyday
To keep simple ombre nails looking fresh and lasting longer, it is essential to follow a few straightforward care tips. Firstly, applying a high-quality top coat can protect the ombre design and add a glossy finish. Reapplying the top coat every few days helps maintain the shine and prevent chipping. Additionally, using cuticle oil daily nourishes the cuticles and surrounding skin, promoting healthy nail growth and preventing dryness.
Wearing gloves while doing household chores, such as washing dishes, protects the nails from harsh chemicals and water exposure. When touching up the nails, gently buff any rough edges to retain a smooth surface. Regularly moisturizing hands with a good hand cream keeps the skin and nails hydrated, further enhancing the longevity of the manicure. By following these basic routines, ombre nails can remain vibrant and well-maintained for an extended period.

Seasonal Ombre Color Combinations Guide
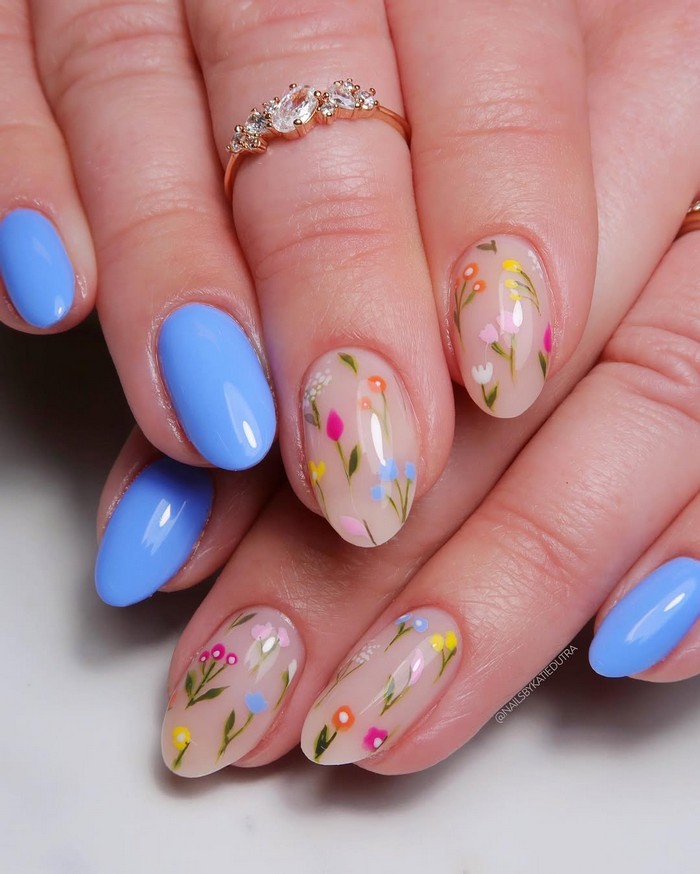
Choosing the right colors for each season is essential in creating ombre nail art that is both trendy and representative of the time of year. Seasonal color combinations can greatly enhance the visual appeal of nails, making them a perfect accessory to outfits and seasonal activities. For instance, in spring, using pastel hues like baby pink and mint green can capture the freshness and vibrancy of the blooming season.
Summer calls for bright and bold colors such as sunny yellows and ocean blues that reflect the energy and warmth of the sun. Autumn is all about embracing warm and earthy tones—think rich browns, golds, and oranges that mirror the changing leaves. Winter, on the other hand, sees the elegance of cool blues, icy silvers, and deep, festive reds. This guide aims to provide readers with stylish seasonal ombre nail art ideas, ensuring their nails remain chic and season-appropriate throughout the year.

Gorgeous Ombre Nails Step-By-Step
Creating ombre nails using the sponge technique involves a few simple steps. Begin by preparing the nails, ensuring they are clean and shaped. Apply a base coat to protect the natural nails and then a base color, typically a light shade, and let it dry completely.
Next, choose two or more complementary polish colors for the ombre effect. On a makeup sponge, apply strips of each color in the desired gradient order. Lightly dab the sponge onto the nails, moving up and down slightly to blend the colors seamlessly. Repeat this step for more intense color if necessary.
After achieving the desired gradient, clean any excess polish around the nails with a nail polish remover and a brush or cotton swab. Finish by applying a top coat to seal the design and add shine, ensuring the ombre nails last longer and have a smooth finish.

DIY Ombre Nails At Home
Achieving perfect ombre nails requires careful attention to color choices and application techniques. Start by selecting complementary colors that blend well together; such combinations create a more natural gradient. Use a makeup sponge to apply the polish, ensuring to dab lightly to create a smooth transition between colors.
When applying the polish to the sponge, overlapping the colors slightly can help in achieving a seamless blend. Dab the sponge onto the nails in light, even motions, and allow each layer to dry before applying the next to build depth in the ombre effect.
Avoid common mistakes such as using too much polish at once, which can make the gradient appear uneven or blotchy. Improper blending can also leave harsh lines, so taking time to blend the colors gradually is essential. Finish with a top coat to seal the design and add shine, ensuring the nails look polished and professional.

Elegant Gradient Nail Designs Tutorial
Elegant gradient nail designs, also known as ombre nails, feature a seamless blend of colors transitioning from light to dark, delivering a sophisticated and chic look. The popularity of gradient nails stems from their versatility and the visual appeal they offer. From subtle nudes to bold, vibrant hues, gradient nails can be customized to suit any style or occasion. Creating these designs at home offers several benefits: it’s cost-effective, allows for endless creativity, and provides an opportunity to practice and improve nail art skills.
Using a sponge technique, layers of polish can be effortlessly blended to achieve a flawless gradient effect, resulting in stunning nails that look professionally done. Avoiding the use of too much polish and ensuring proper blending are crucial to mastering this technique, ultimately yielding beautifully elegant nails that elevate any look.